How to Make Homemade Corn Relish for Canning

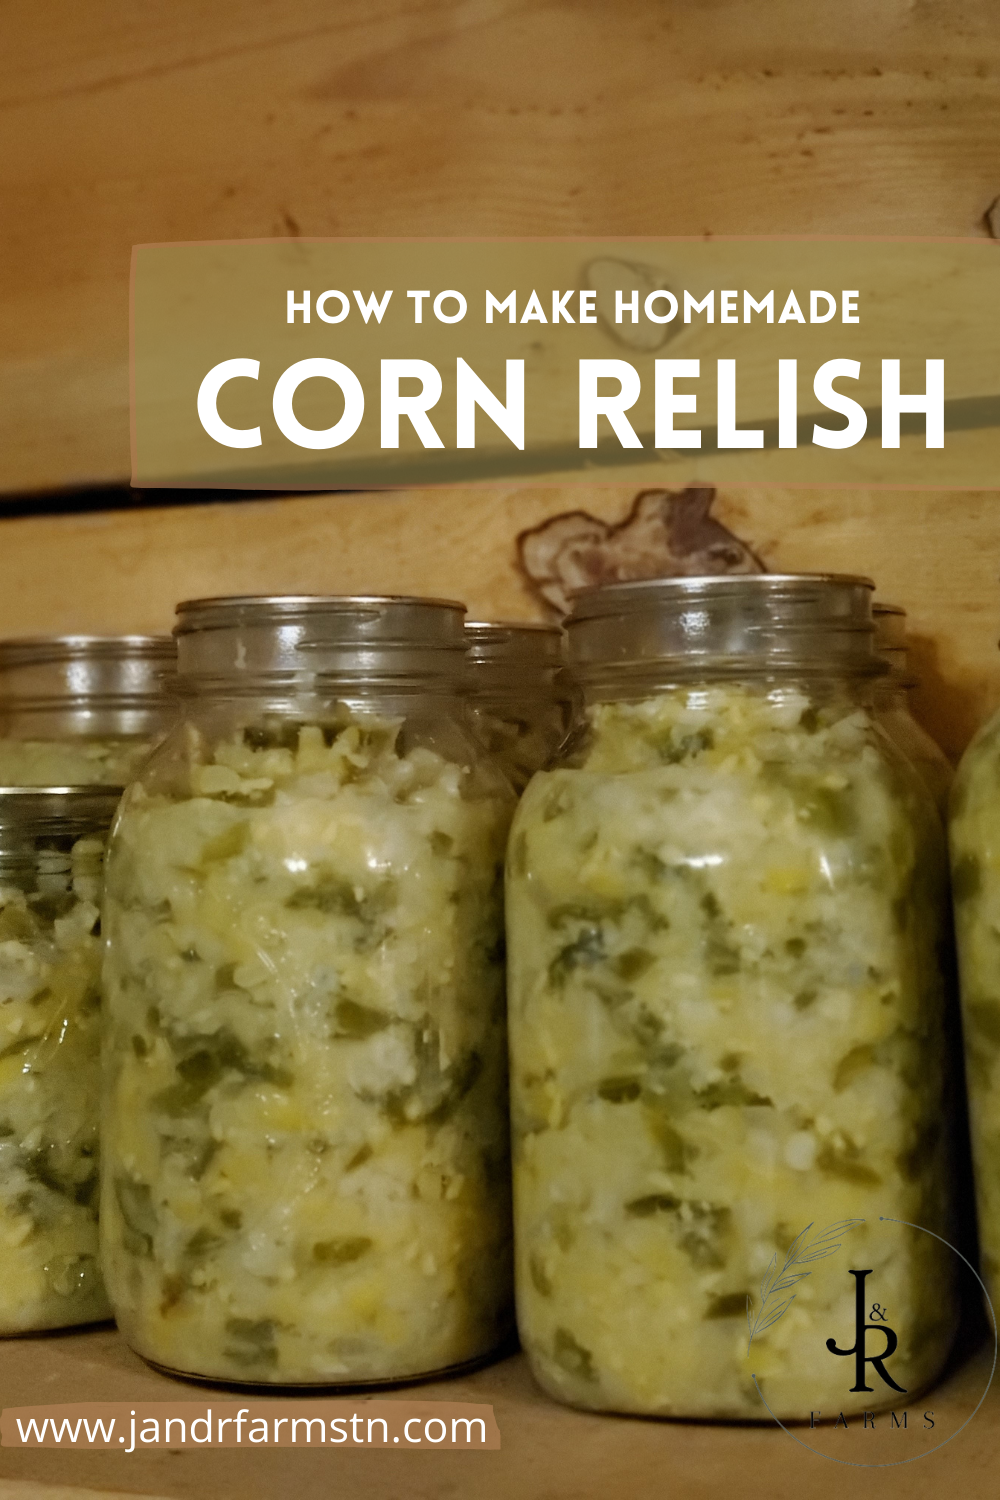
Corn relish is a delicious way to preserve the summer harvest. This simple homemade canning recipe uses fresh corn off the cob, bell peppers, hot peppers, onion, and cabbage for the perfect fresh taste all year long.
When I first made my great-grandmother’s corn relish recipe…I couldn’t believe my mouth. I had never been one to prefer relish…probably because I had never made THIS relish!
This recipe is a little sweet and a little spicy. Of course, you can adjust the spiciness for your preference. But we like it just right…not too painful but still a little taste of the jalapeno.
I love this recipe so much, because as long as you have a few key ingredients…you honestly can’t mess it up.
What Do I Eat Corn Relish With?
The big question is, what can I eat with this stuff? My answer is: have it as a side dish to pretty much anything. Most people probably put relish on their hot dogs…or on the side of their soup beans… But this corn relish we had three days in a row just on the side of roast, chicken, or as a snack by itself!
Yeah, I believe it is that good. That’s a great endorsement coming from a non-relish eater. 😉
This is A Vintage Recipe
My recipe came from my great grandmother. I’ll post a picture of the original, of course, but I did add some “modern” touches to it, which I’ll explain below.
Minnie Grindstaff was my great grandmother, and you can read all about her here in this post.
The original recipe did not have water bath instructions because…they didn’t water bath stuff very much.
They heated their jars and lids, and scooped the boiling contents into the piping hot jars, then covered the hot liquid immediately with the boiling hot lid and band. Then the jar would seal, they would store it, and it would all be ok.
However, today, we are encouraged to water bath our canning recipes. So I’ll include those instructions below.

Supplies You Will Need:
If you haven’t already, check out my post on how to get started home canning your food. The supplies to water bath can are as follows:
Stockpot for corn relish
Large spoon for filling jars
Ingredients for Corn Relish
This recipe makes 7-8 pints. (Depending on the size of corn, cabbage, ect.) Recipe can be halved or doubled!
12 ears of corn. I cook the shucked ears for about 5-10 minutes in boiling water, then I will cut the kernels off the cob. You will be canning with the kernels, not the cob. (Ya never know who needs to hear that.)

6 onions. Honestly, we didn’t use the full amount of onions. This is up to you.
6 sweet peppers. This means bell peppers. We used green, but any color will be fine. Red, orange, or yellow would be beautiful.
2 hot peppers. We used our jalapenos. My husband actually snuck an extra in…and it was juuussst enough spice to where the little guys didn’t want to eat it. So if you want to make it milder, stick with 2 or even 1.
2 cups sugar. If you are sugar-conscious, just use your favorite non-sugar sweetener, as you would sugar. (For example, 4 cups THM Gentle Sweet or 1 cup Super Sweet. These are stevia based sweeteners for the low-glycemic folks.) It’ll be fine.
1 quart vinegar. This will be 4 cups of white distilled vinegar.
1 tablespoon salt. I used my kosher salt that I always use for canning. You could use canning salt or even regular mineral salt.
1 jar prepared mustard. Remember this is a vintage recipe. I do not have a jar of prepared mustard, so I used 1 1/2 tablespoons ground mustard. PERFECT.
1 large cabbage head. The first run I made with cabbage. Delicious. The second run I made without cabbage. Equally delicious. It’s up to you whether to include this. It does bulk it up quite a bit.
Instructions for Corn Relish
(First, remember to scrape all the corn off the cob, after you have precooked the cobs for about 5-10 minutes, to make cutting easier.)
Cook corn and vinegar together for 20 minutes.
Add the rest of the ingredients, and cook for 30 minutes.

Simply lovely 
Cooking the relish 
Sorry dirty stove…this is the doubled recipe!
Spoon corn relish into clean, hot pint canning jars, leaving 1/2 inch headspace.
Wipe rim, and secure lids onto the jar.
Place them in water bath canner, and when the water comes to a boil, set the timer for 15 minutes.
When time is up, remove them from the canner and allow them to seal. Date and label your jars! And remove bands to check for the seal.

Canning is the Best!
I hope you make this recipe and enjoy it as much as my family does.
Let me know if you love it!
For more canning recipes, visit my Canning section.
See what else we’re preserving over on Instagram!


