Processing Pork: Butchering, Packaging, and Storing
Disclaimer: This post contains photos of the actual butchering process.
Now that the hog is prepared for butchering, they lower it down onto a table for easier access.
The butcher here is using a knife with a 10-inch blade. He starts with the front shoulders. On the front shoulders, the meat is held on by a tendon. He feels around to find this tendon, and cuts around it to the shoulder blade. (The shoulder meat will meet up with the side meat, or belly, which will be bacon.) Both of the shoulders will be separated and stored in a cooler to take inside for further working up.
Next, he cuts the belly meat off. The belly is attached to the ribs. The belly will be sliced into bacon eventually. But for now, the chunk of belly meat is also stored in the cooler until it’s trimmed up inside.
The hams (back legs) are taken off next. You have to find the joint to separate the hams. He will slice around the bone with a knife until the hip joint is visible. He pops the joint out of place, then slices through the cartilage to completely separate the meat. Both hams are stored until further trimming.
After the hams, belly, and shoulder are off, he rolls the rest of the meat over, and cuts the boneless loin off the backbone. The loins, or pork chops, are located on each side of the spine. The loins are a long solid piece of meat.
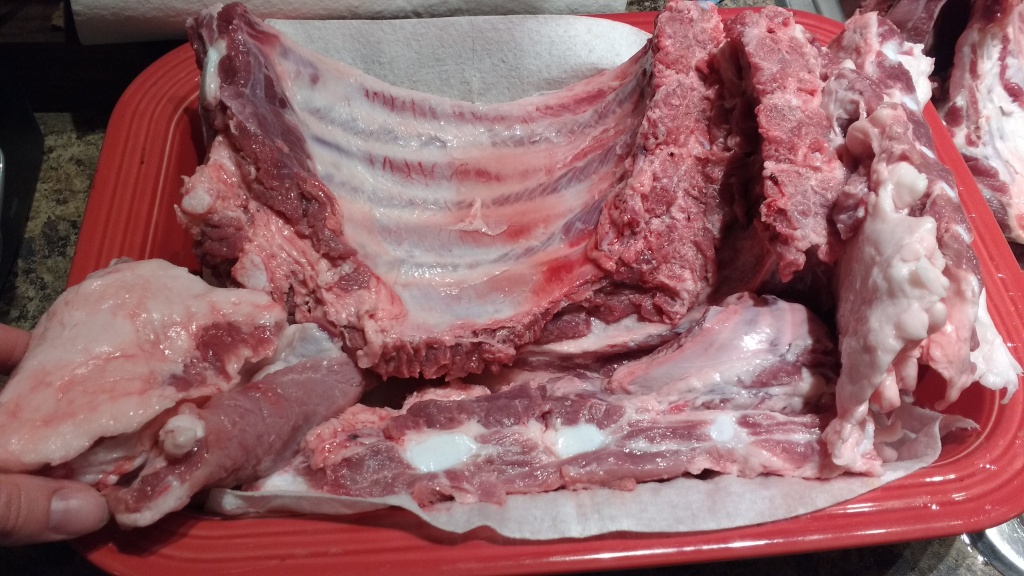
He removes them first, because they could accidentally get severed while he’s cutting on the ribs: which are cut with a handsaw. Loins are set aside, then the ribs are cut out. Then, he saves the backbone for me to boil down for stew meat. He also cuts the backbone up with a handsaw.
So now, all the quarters of meat are in clean coolers. The shoulders, hams, belly, ribs, and loins. These are kept cool outside, and one by one, the pieces of meat are brought in to continue butchering.
My husband is really good at trimming and butchering the meat. I don’t have the patience to do this part. He will trim some of the membrane off the shoulder portion, and separate what would be the Boston Butt. The top part of the shoulder will be the Boston Butt, and the bottom part of the shoulder (considered the forearm, I suppose) is also trimmed and stored for BBQ or smoking purposes. These are whole chunks of meat left on the bone, by the way.
My job is to package the shoulders in plastic wrap and freezer paper. I’ll label the cuts of meat and date it. Into the freezer it goes!
The hams are next. We turned all this meat into sausage. He will save some of the fat for fatback to use in beans, or whatever I need it for. I’ll store the fatback in plastic bags to freeze.
After the meat is trimmed off the bone, I’ll also save the hambone to make soup. It’s also sent to the freezer.
We use a late 1950’s model Sanitary scale company sausage grinder. My husband’s great-granny gave it to him years ago! Locals may remember Buddy’s IGA. This is where it came from.
The ham meat and fat is chunked up to send through the grinder. We prefer to make ground pork instead of traditionally sage flavored sausage. I use unseasoned ground pork as a sub for ground beef in some recipes. And before cooking, I can still flavor my ground pork to make breakfast sausage!
Hams were/are traditionally hung in a smokehouse to cure. Unfortunately, we haven’t built our smokehouse yet, so this is why we use the ham meat for ground pork.
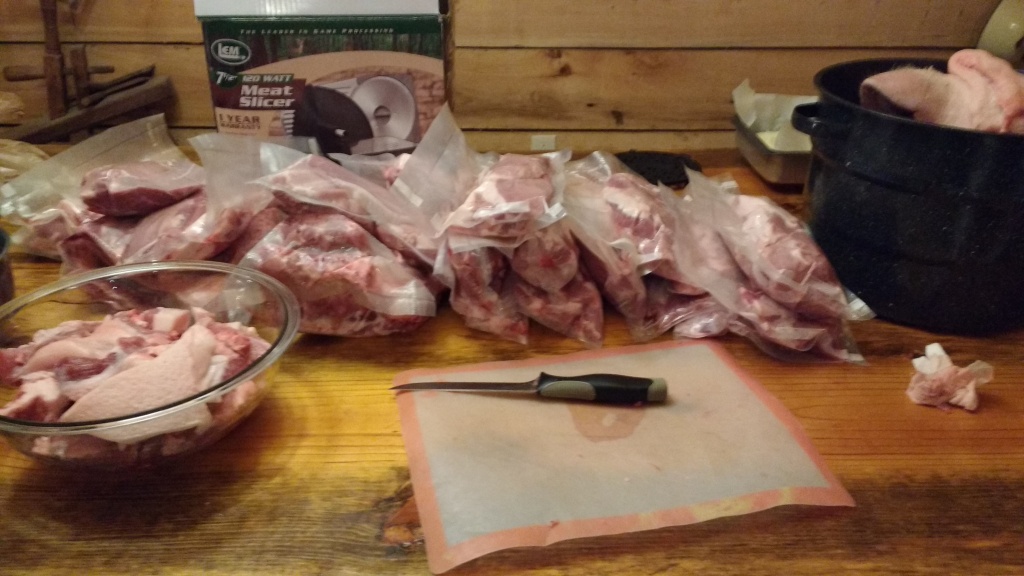
Next, the long pieces of the loin are cut into ¾ inch slices. I will freeze about six pieces to a package. We use this amazing Food Saver vacuum sealer for pork chops, ribs, and ground pork. (These links are affiliate links.) We’ve used Food Saver for years and it is wonderful. I use it for our chicken and turkey meat, too. These are the packages we use. They also come in handy for frozen veggies or fruit.
Now the only pieces left are the belly and ribs.
The ribs are sliced up and vacuum sealed, too. We will smoke them for BBQ’d ribs.
The belly is trimmed up some more, and will be cured for bacon. The bacon curing process will be covered in my next post.
Note: the head was scraped clean, quartered, and turned into souse meat. See that process here! The hog jowl was cut out of the head and also cured with the bacon.
Where do the extra fat trimmings go? Into the ground pork. Our waste was very minimal, maybe 10 lbs.
That is it, folks! The whole hog has been processed and stored properly for future use in delicious recipes we love! Be on the lookout for some more recipes in which we use the pork. Cooking through and using all we can is very rewarding. Not just for our stomachs, but for our mindset as farmers.
Got questions about this process, or interested in buying a share of our next batch of hogs?
Contact us through email or give us a call. We sell the whole hog, half, or quarter, depending on the customers needs. We send them to a local butcher shop for our customers, because my husband would have to quit his job to have time to do this full time! It’s a very time-consuming process! We do love our trusty butchers, so we will definitely recommend them to you.
Did you miss parts one and two? Read them here!
Pork Recipes:


Processing Pork: Why Do We Do This? – J&R Farms
[…] Processing Pork Part Three: Butchering, Packaging, and Storing […]
Processing Pork Part Two: Preparing the Hog – J&R Farms
[…] Be on the lookout for Part Three. Processing Pork: Butchering, Packaging, and Storing! […]